

Happy Hanging Beds
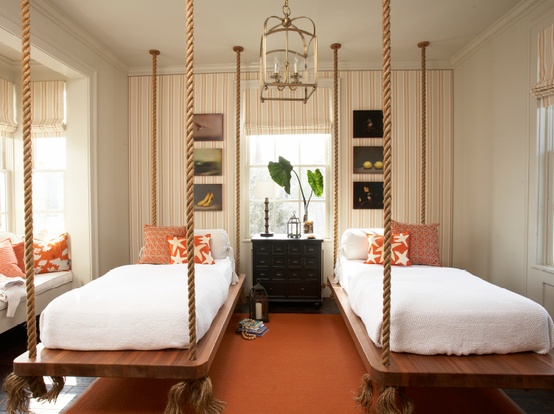
How fun would it be to have a hanging bed?
My kids would adore them. You often see them on porches but inside is even better.
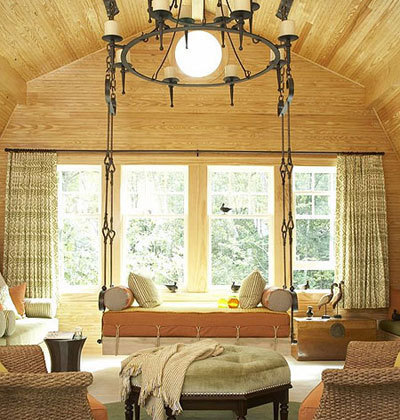
Here are some of my favorites I would be happy to have.
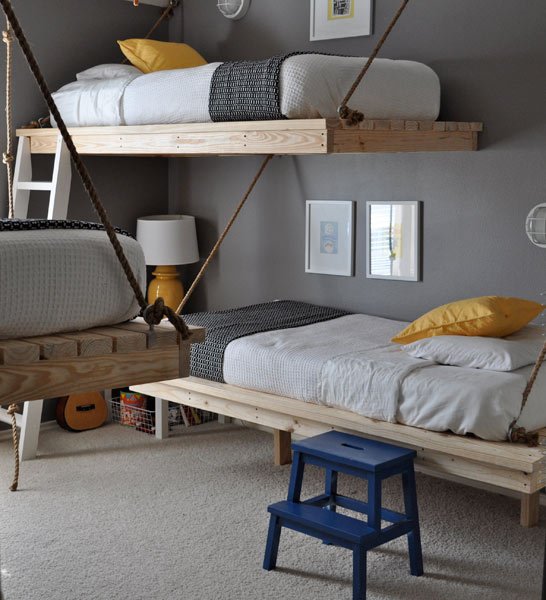

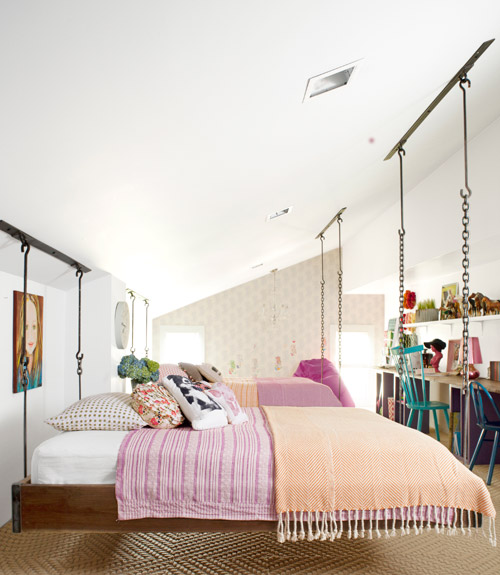
This one really rocks my world!
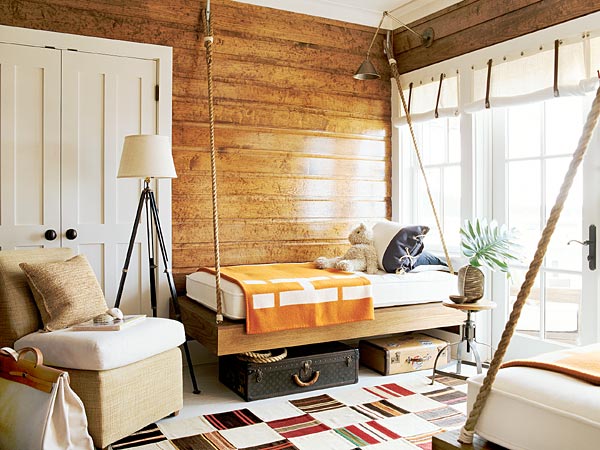
How To Build A Hanging Bed
To complete this construction project, please keep installation requirements — including ceiling supports — in mind. For the gorgeous hardware seen here, you’ll want to hire a local artisan to do custom metal work.
See these beds in the Pioneer Woman’s Bedroom Makeover »
Read more: How To Build A Hanging Bed – Hanging Bed Construction Plans – Country Living
Follow us: @countryliving on Twitter | CountryLiving on Facebook
Visit us at CountryLiving.com
Step One: To create a frame, measure the length and width of your mattress. Cut four 2″ x 8″ planks of hardwood to the length, plus four inches; cut two more 2″ x 8″ planks to the width, plus one inch. Sand and stain planks. Once dry, arrange planks into a standing rectangle with the shorter planks in between the longer planks. At each corner, connect the planks using at least three screws.
Step Two: For inner support ledges, cut 2″ x 2″ wood rail to the following four measurements: two should measure the mattress’s length plus one inch, two more should measure its width minus two inches. Position the ledges one at a time inside the frame, then secure them along the frame’s bottom edge using screws.
Step Three: Secure the bed’s corners on the inside or outside of the frame, as desired, with four 90-degree brackets of heavy-duty steel. Before affixing the brackets, hold them in place and mark hole locations. Drill through the planks at these points, then secure the brackets with bolts and nuts.
Step Four: Cut six or seven 2″ x 4″ planks to the width of the mattress. Place the planks about eight inches apart atop the support ledges; screw each plank into place. Place a 3/4″ plywood base (cut to the dimensions of the mattress) atop the planks to support your mattress. Screw into place.
Step Five: Working on the outside of a shorter end of the frame, measure one foot in from each corner and mark. Center a 90-degree, heavy-duty metal bracket with a ring on each mark, with one bracket edge positioned under the frame and the other flush against it. Mark the bracket holes on the frame and drill through the planks in these spots. Secure each bracket with nuts and bolts. Repeat at the opposite end of the frame.
Step Six: To hang the frame from the ceiling, check to make sure you have secure ceiling anchor points (they should roughly match the bed’s corners). If your supports can handle the weight of the bed, you’ll need two heavy-duty steel plates, roughly each as wide as the bed frame. Each plate should have two rings positioned at points that will correspond with the ring brackets on the frame. Secure the plates to the ceiling using at least three hex bolts apiece.
Step Seven: Connect the bed frame rings to the ceiling plate rings using a combination of steel bars with S-hooks at either end and heavy-duty chain. When detereming the bars’ lengths, remember to factor in the desired distance from floor to frame, as well as the depth of the bed from the frame bottom to mattress top.
Remember to use my great KEEP gift guides for your shopping ideas…
Holiday Gift Guide for the Little Lady

Holiday Gift Guide for the Little Dude

Holiday Gift Guide for the Home


and last but not least…my personal wishlist


Sorry, the comment form is closed at this time.